Vulnerability Management with Greenbone OpenVAS
Objectives
- Prepare Vulnerability Management Scanner
- Create Client Virtual Machine and Make it Vulnerable
- Perform Unauthenticated Scan
- Make Configurations for Authenticated Scans (VM)
- Make Configurations for Authenticated Scans (OpenVAS)
- Perform Authenticated Scan against our Vulnerable Windows VM
- Remediate Vulnerabilities
- Verify Remediation
Info
The goal of the lab is to configure and explore the platform, not to practice remediation. I will perform some minor vulnerability remediation, but only to test how the scans change in response.
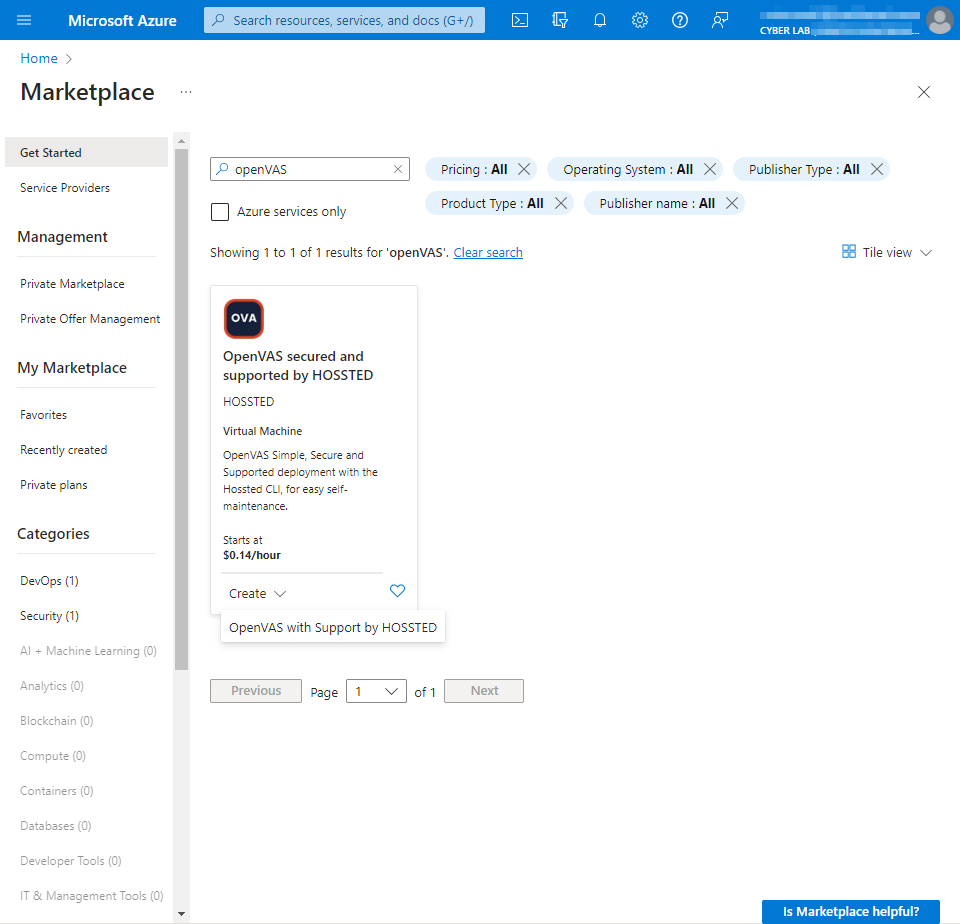
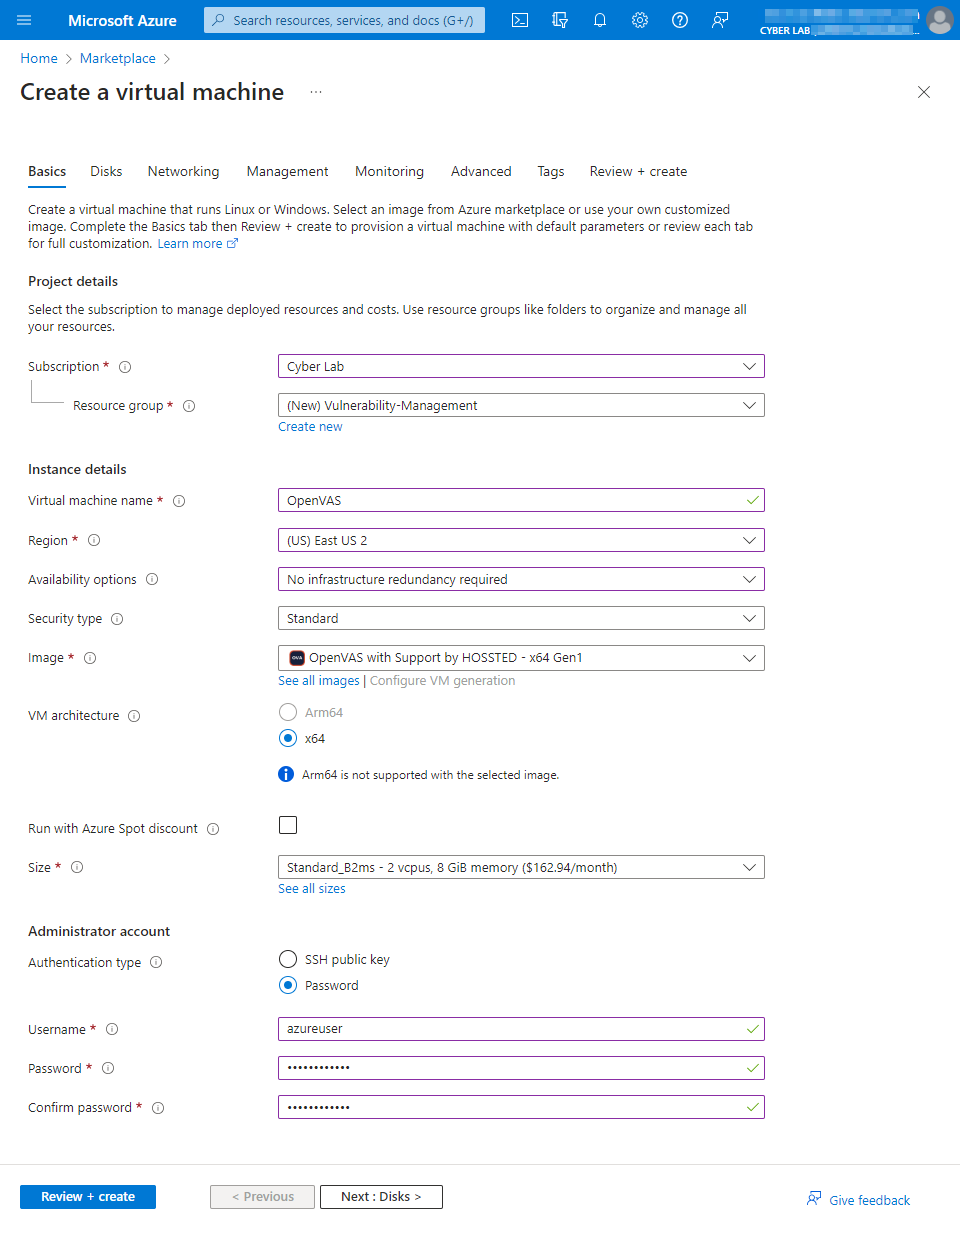
Prepare Vulnerability Management Scanner
From the Azure Portal → Go to the Marketplace → “OpenVAS secured and supported by HOSSTED” and proceeded to create a "Vulnerability-Management" resource group and VM.
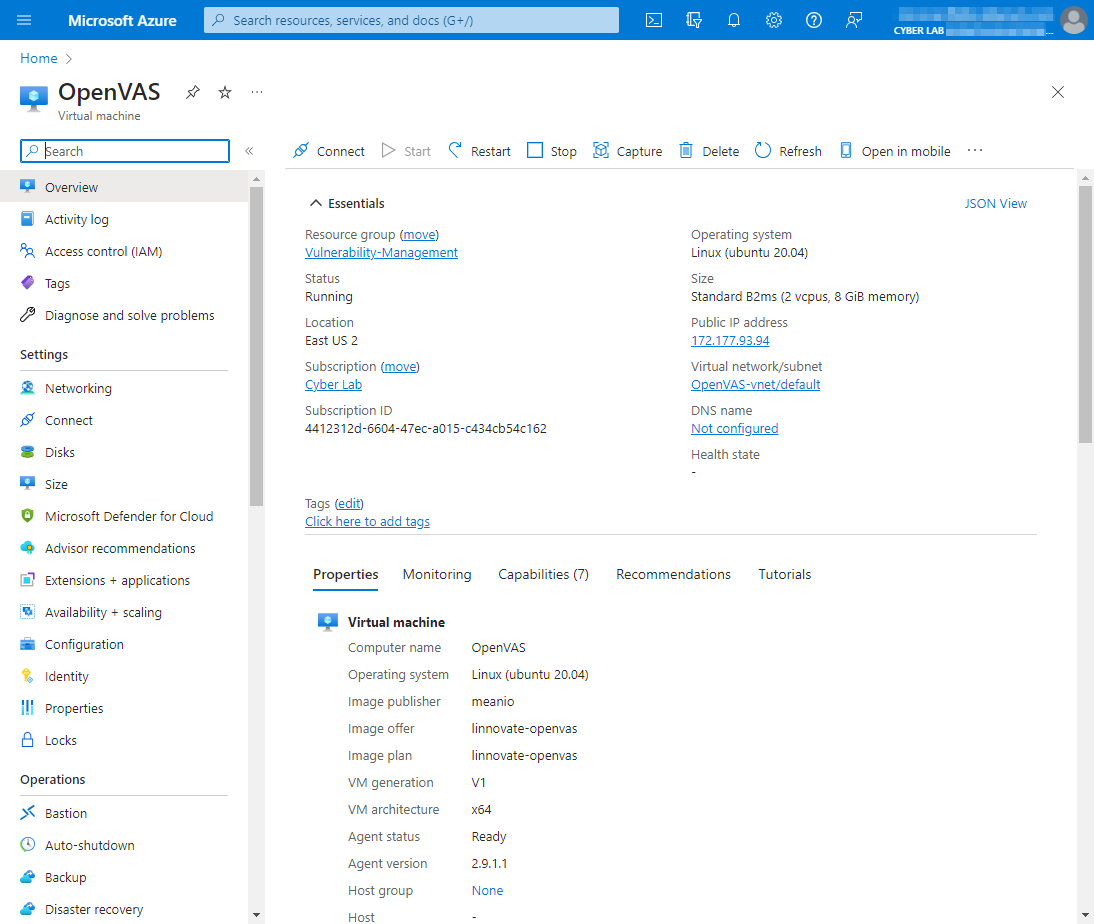
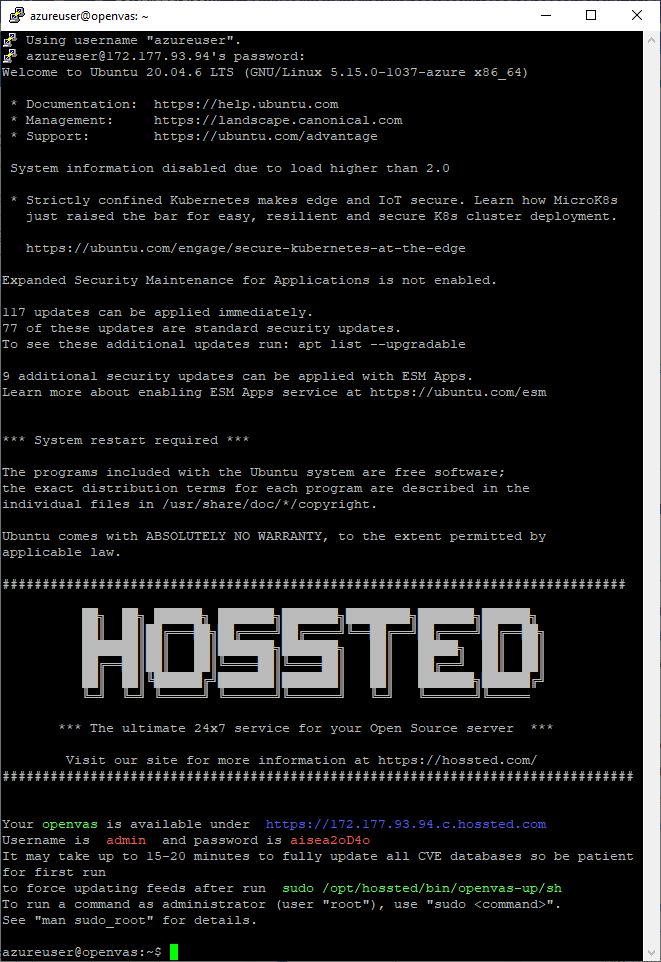
After the VM was created, I used PuTTy to SSH into the server and allowed the initial configuration to complete.
Create a Vulnerable Client
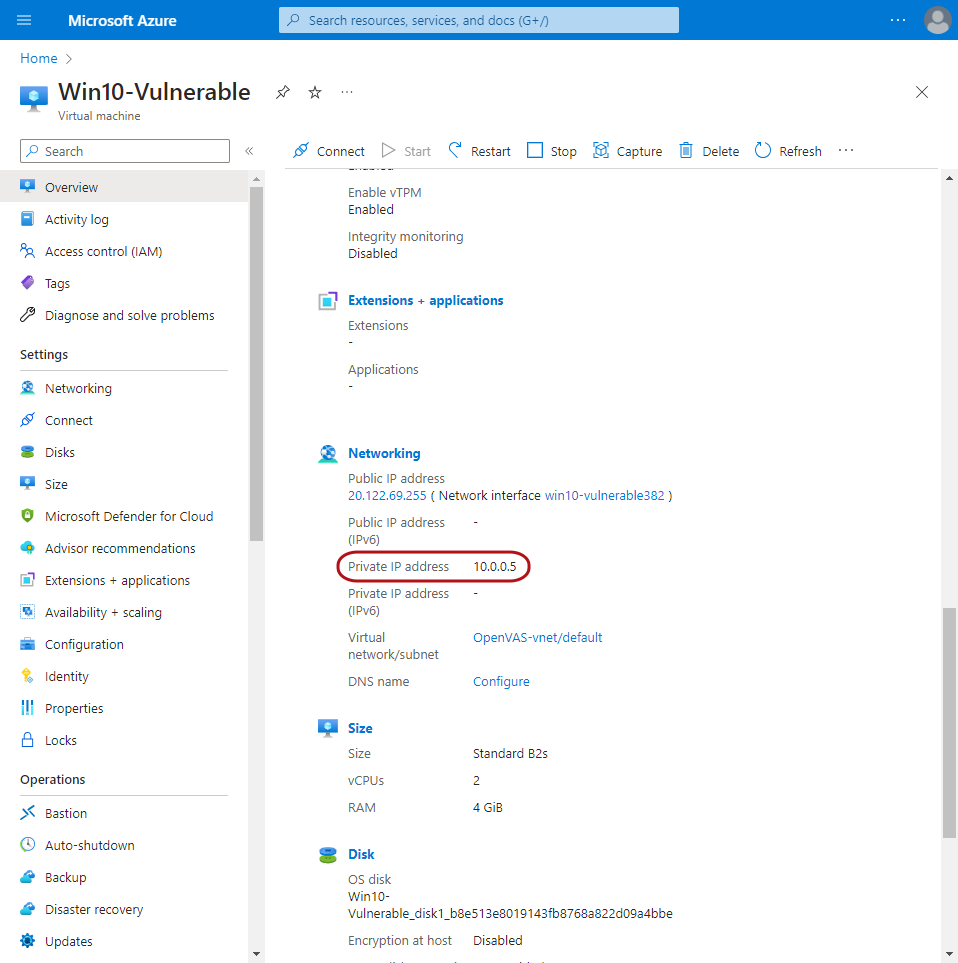
Back in the Azure Portal → Virtual Machines → Create In the same resource group and the same VNet as OpenVAS.
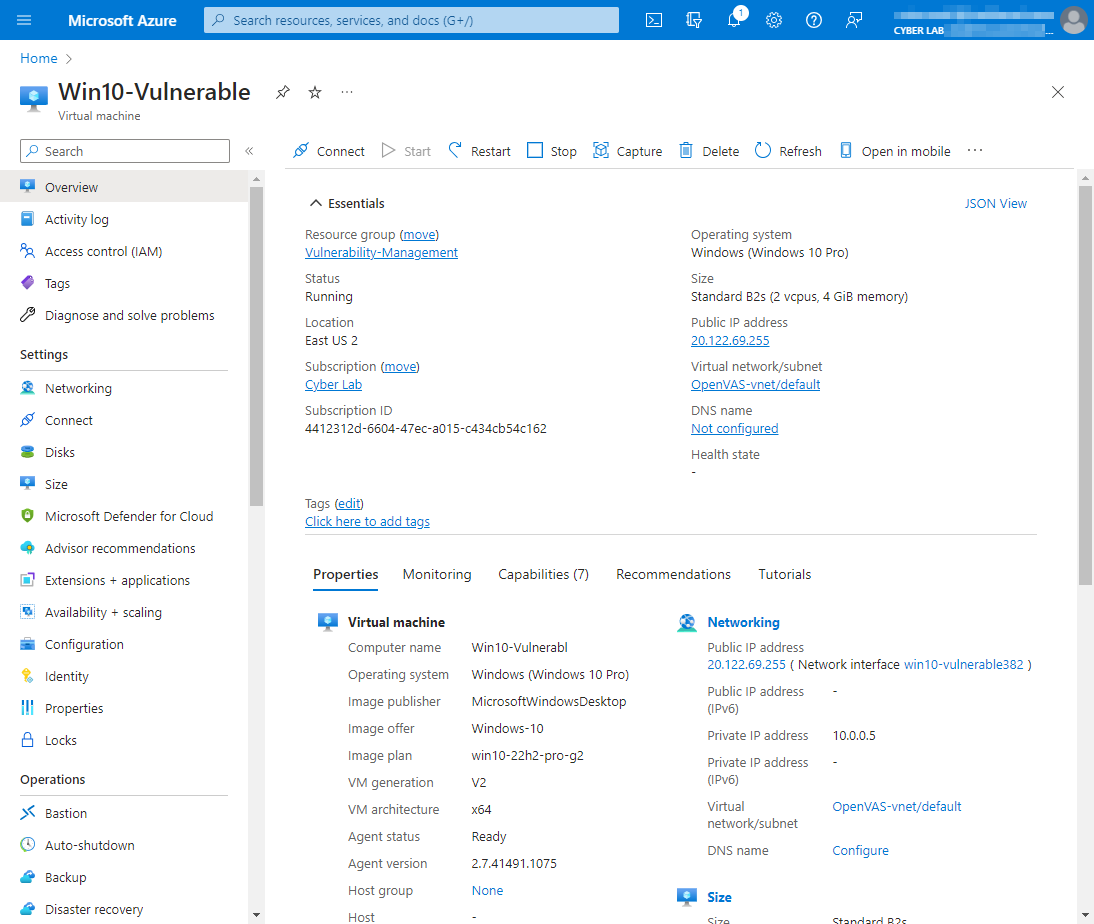
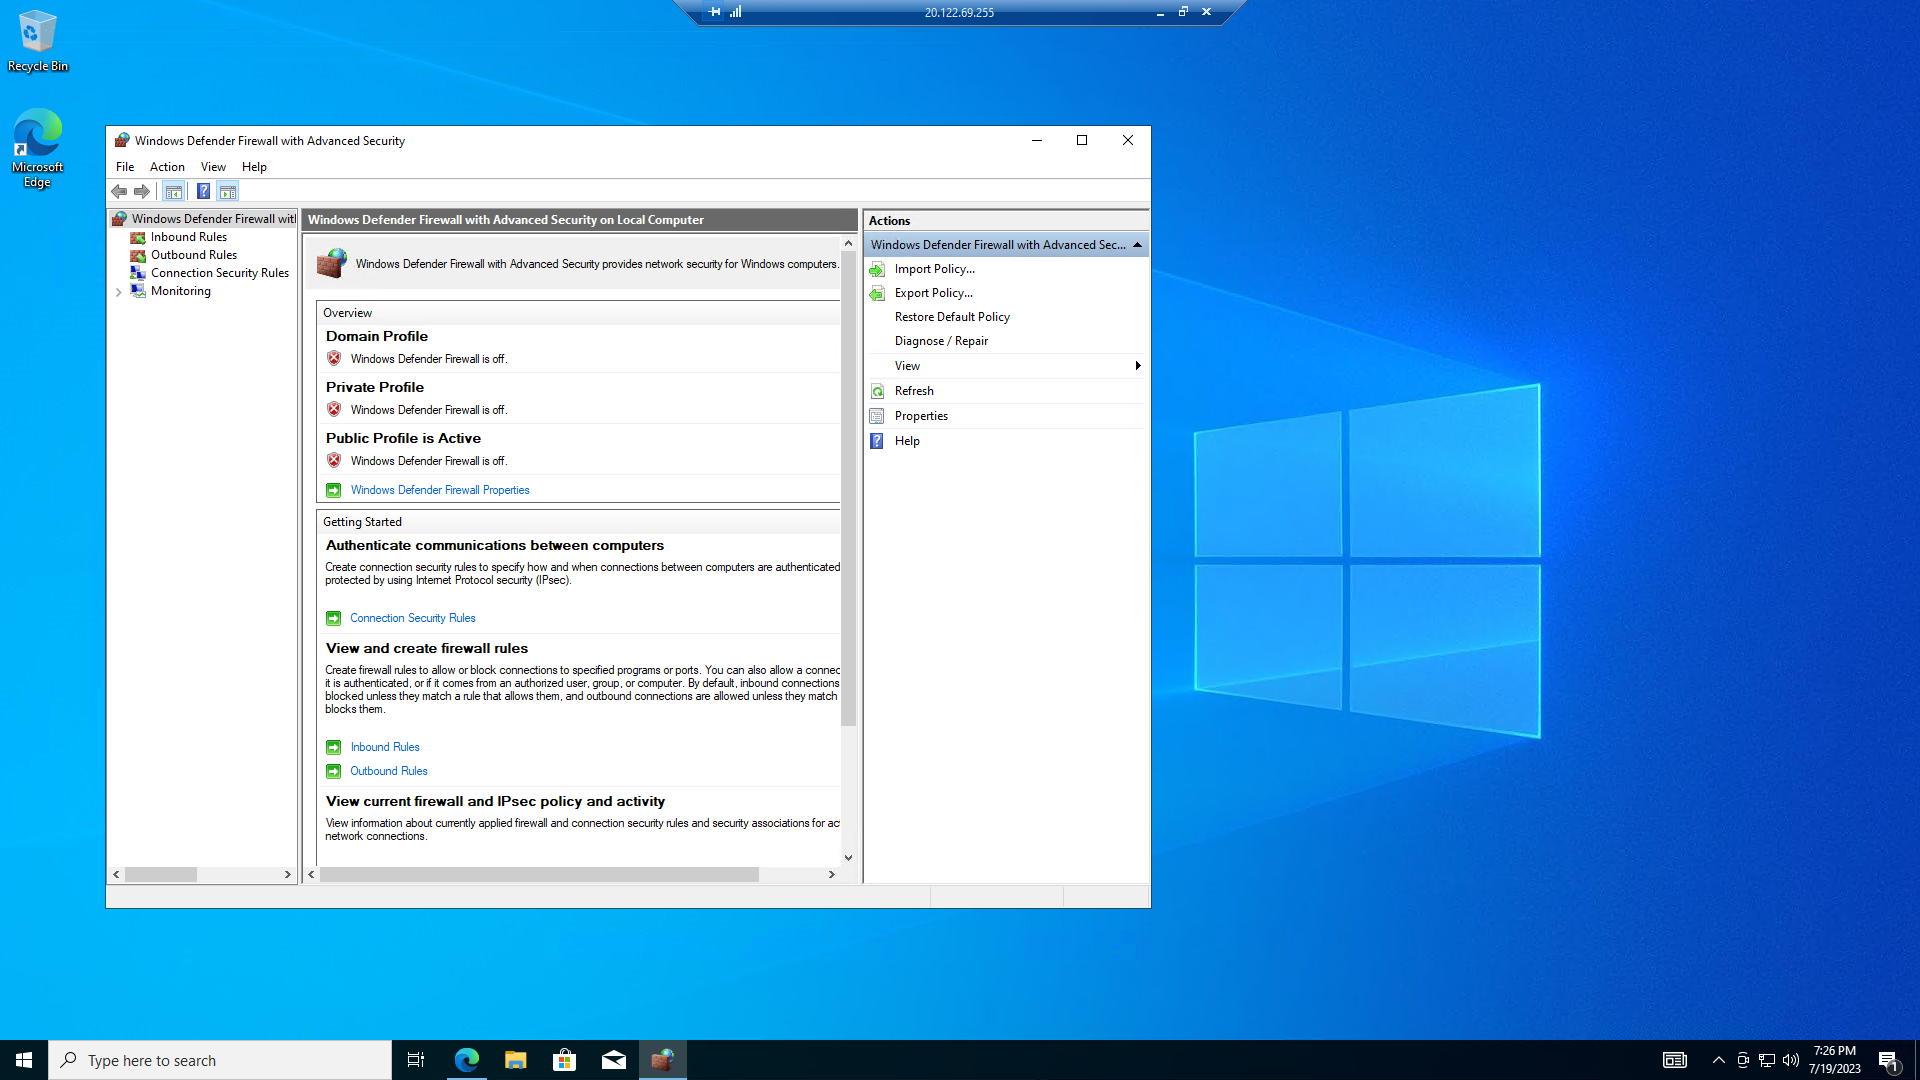
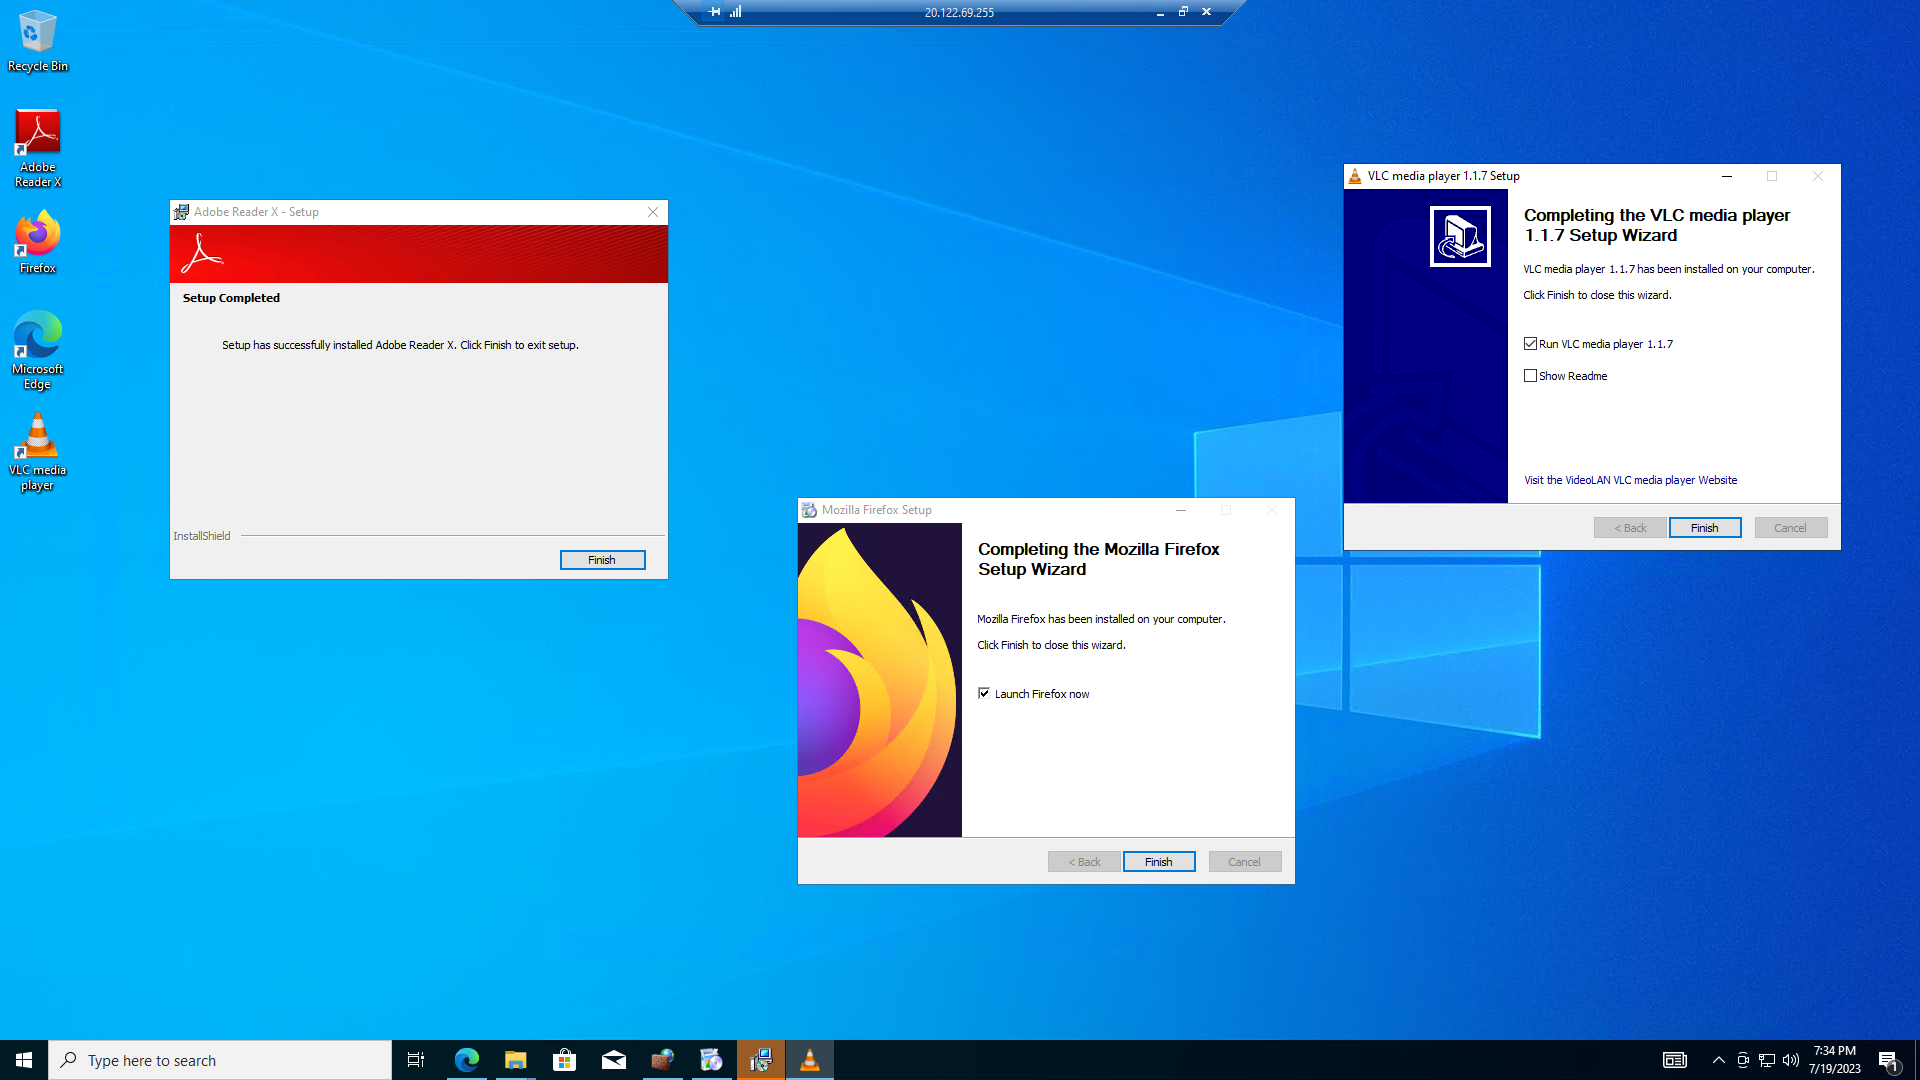
After the VM was created, I RDP'd into the machine to make it vulnerable by disabling the firewall and installing the following very old versions of software (with known vulnerabilities):
- FireFox: Firefox Setup 97.0b5
- VLC Player: vlc-1.1.7-win32
- Adobe Reader: 10.0_AdbeRdr1000_en_US_1_
Configure OpenVAS to Perform Unauthenticated Scan
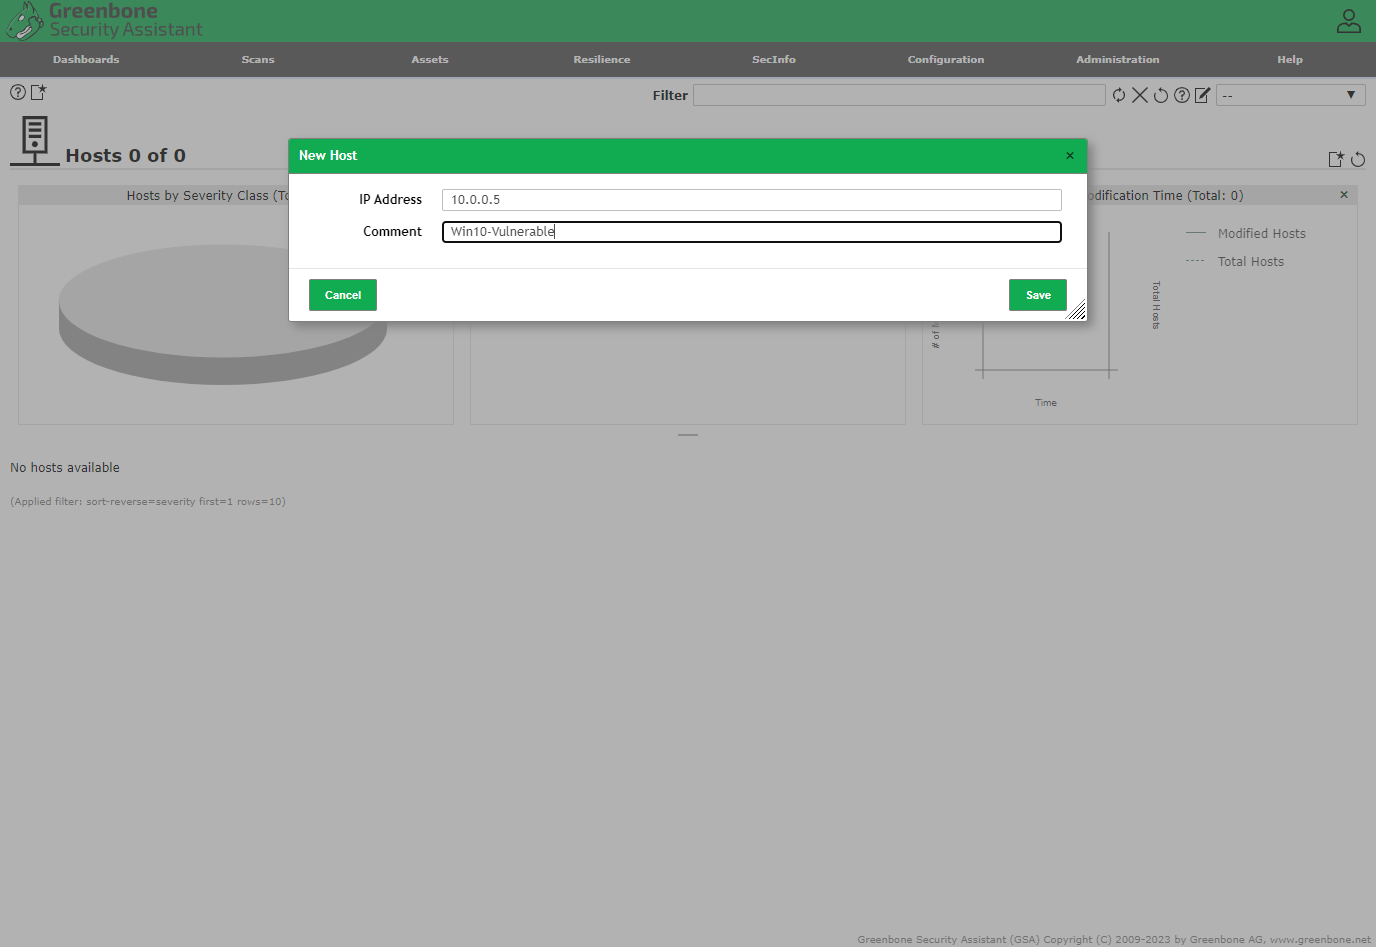
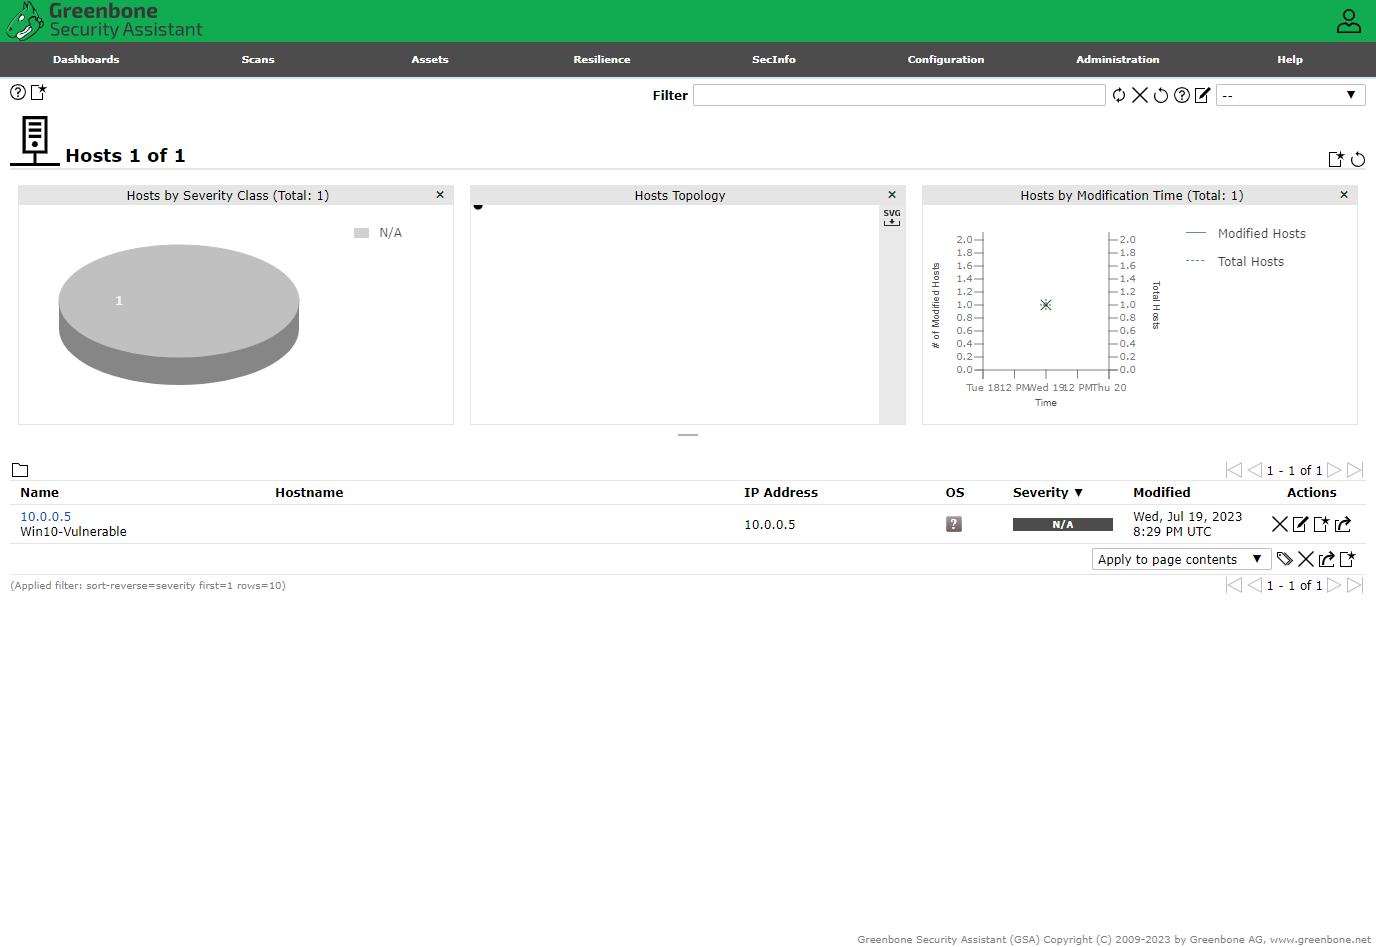
Login to OpenVAS with the URL and credentials provided during initial config → Assets → Hosts → New Host

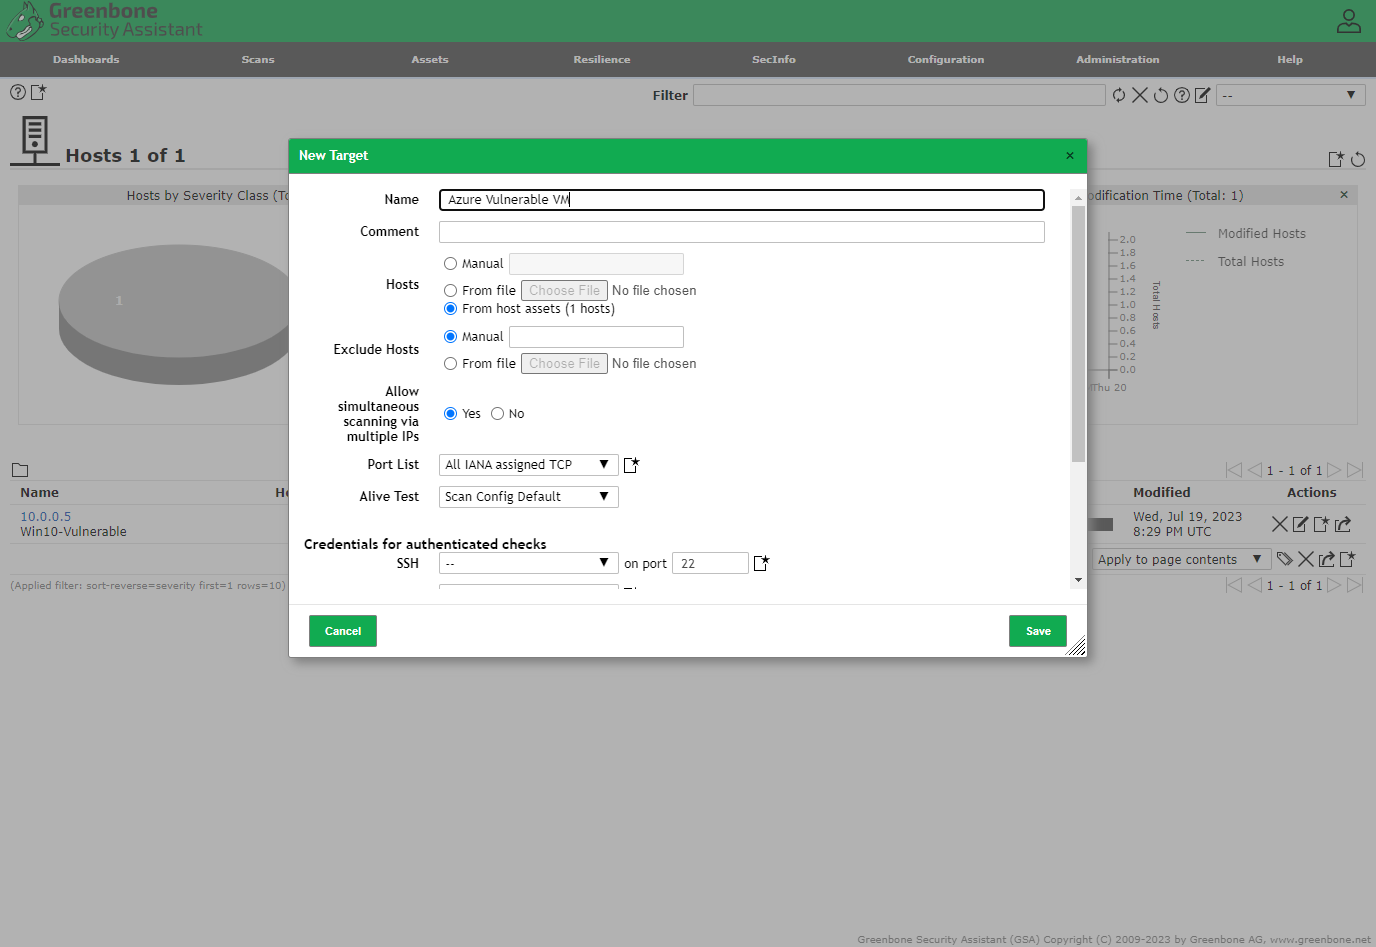
Created a New Target from the Host, name it “Azure Vulnerable VM”.
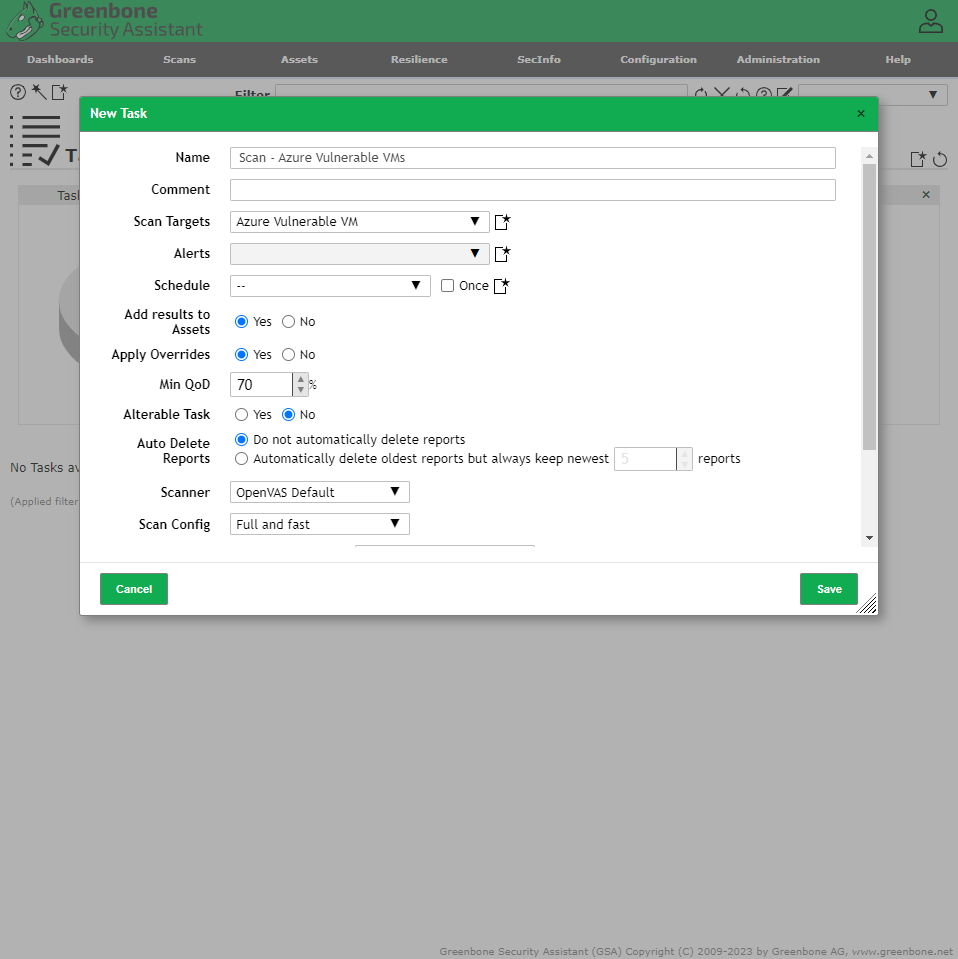
Created a new Task - “Scan - Azure Vulnerable VMs”
Initiated the first scan of the Windows 10 VM client
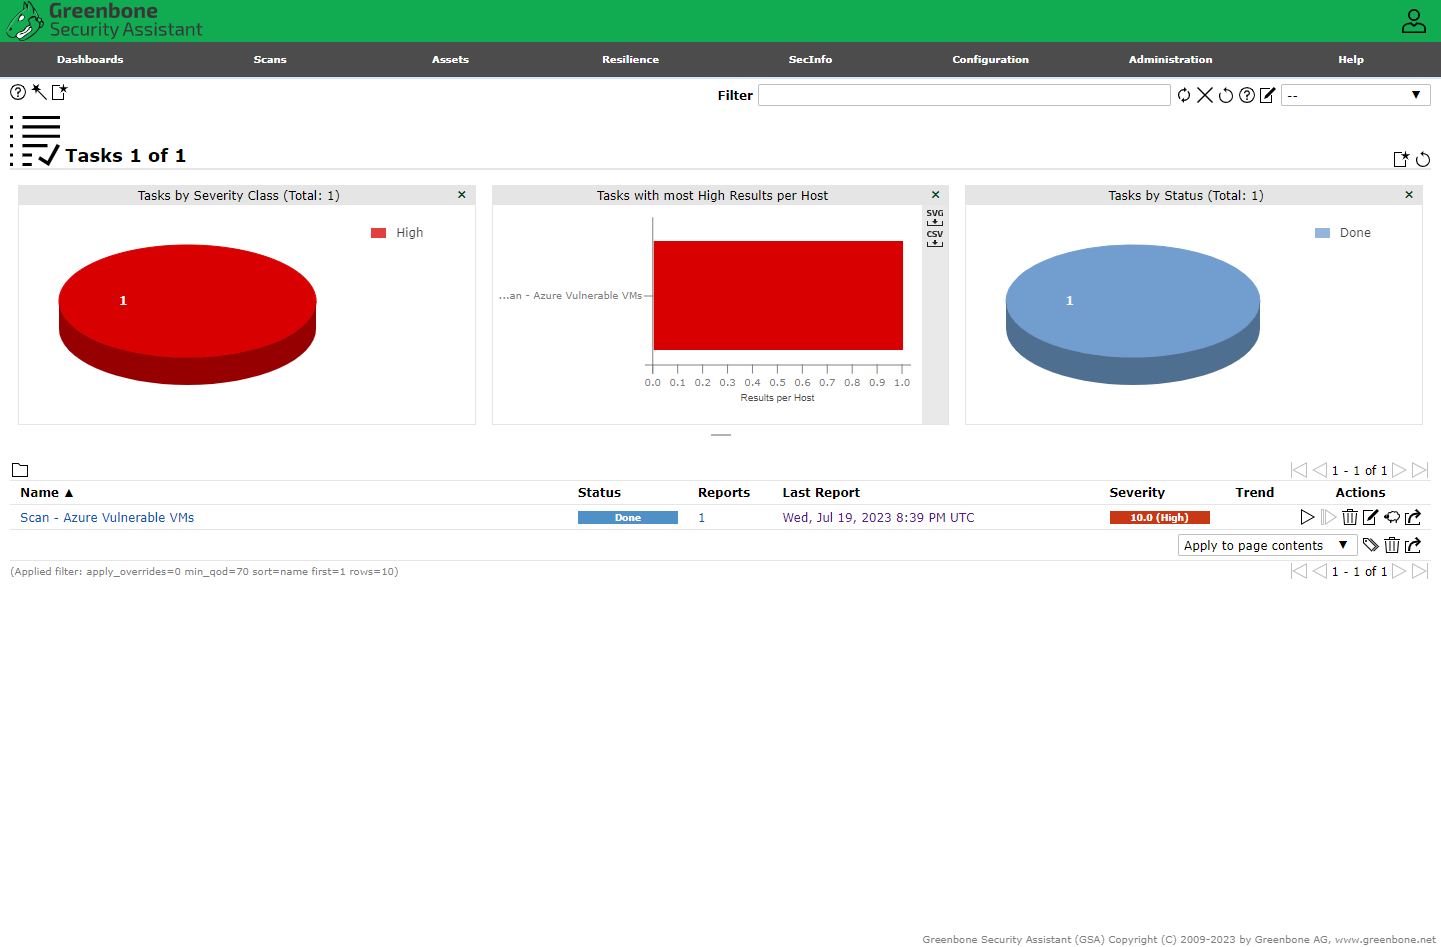
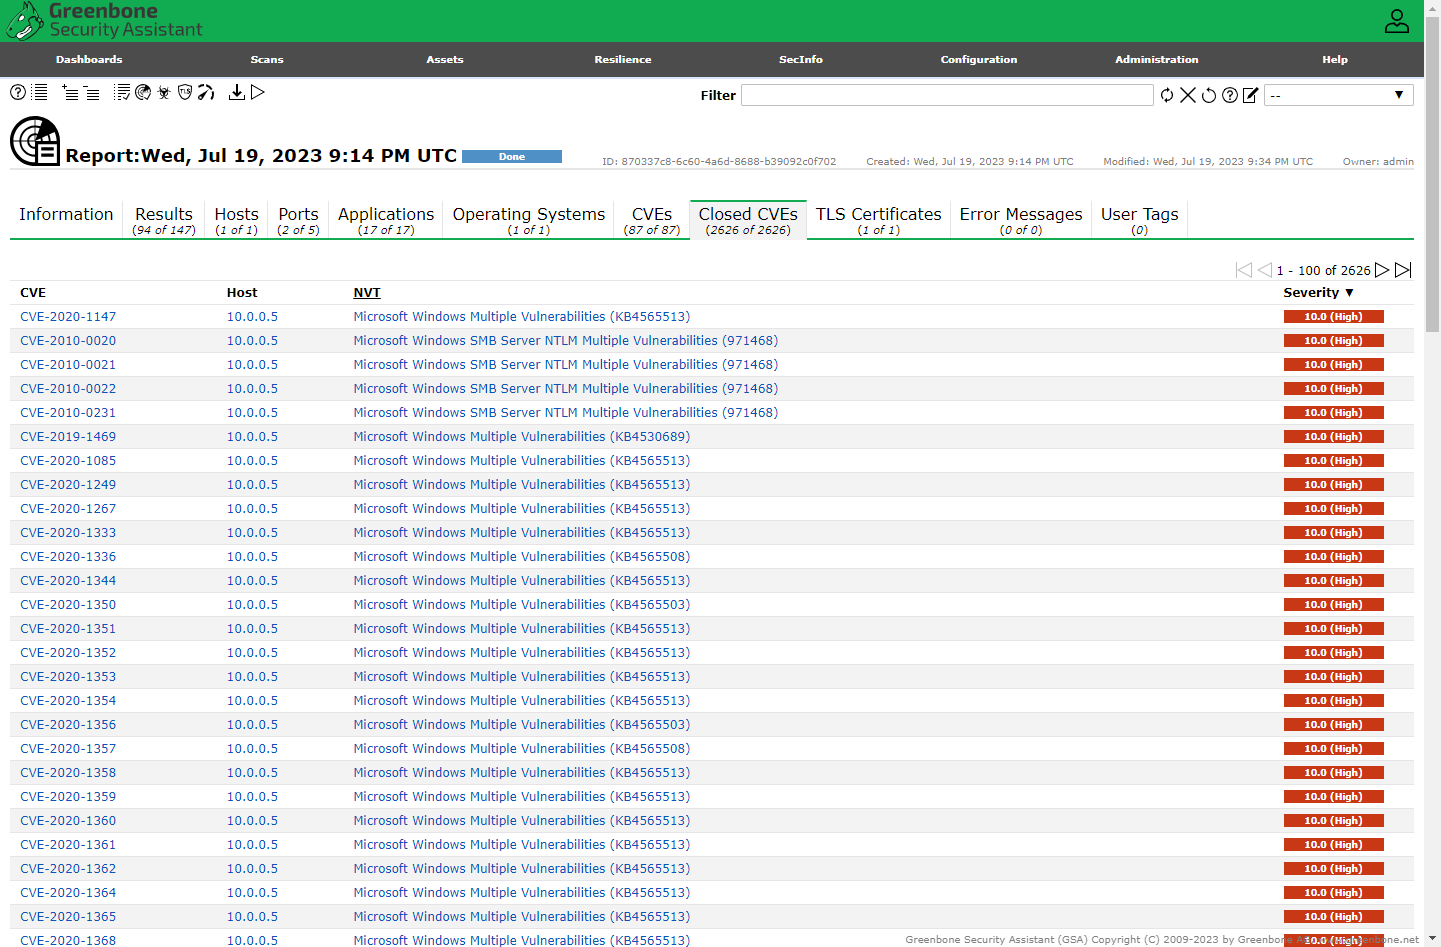
Scan Results
Note
Since this scan is not credentialed, the results are not an in-depth scan.


Make Configurations for Credentialed Scans (Within VM)
Making some changes to the Windows 10 client to allow OpenVAS to preform a more in-depth authenticated/credentialed scan.
Disabled User Account Control

To allow OpenVAS to authenticate, I made the following registry changes:
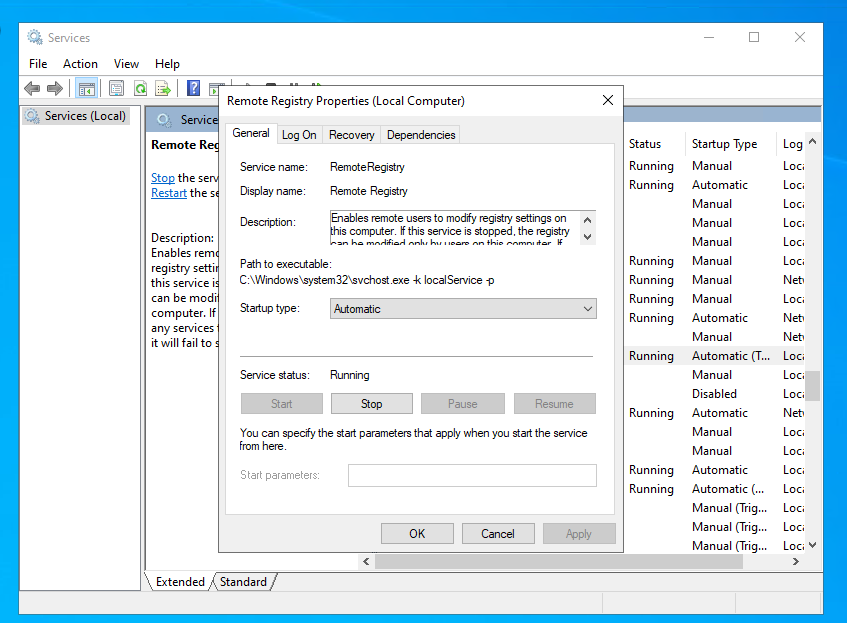
- Enabled Remote Registry (services.msc)
- Launching Registry Editor (regedit.exe - as Admin)
- Navigated to: HKEY_LOCAL_MACHINE\SOFTWARE\Microsoft\Windows\CurrentVersion\Policies\System
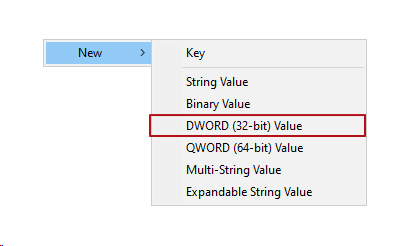
- Set the registry key by creating a new DWORD (32-bit) value with the following properties:
Name: LocalAccountTokenFilterPolicy Value: 1

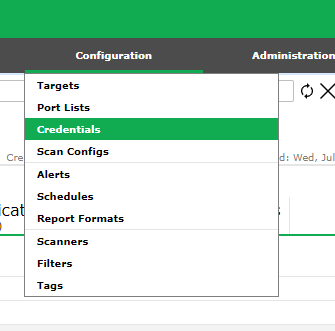
Make Configurations for Credentialed Scans (OpenVAS)
Created a new credential under, Configuration → Credentials → New Credential → Added username & password for Windows 10 VM client under "Azure VM Credentials"
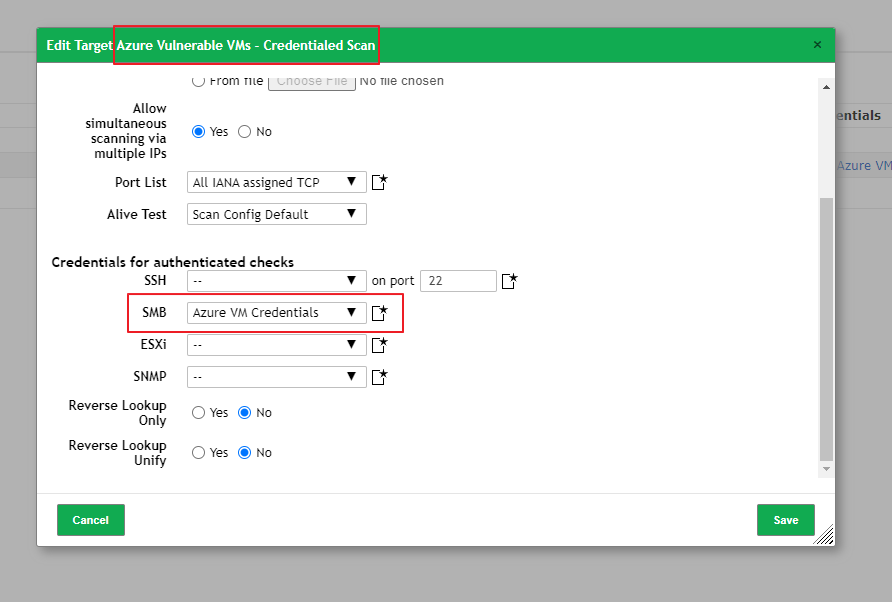
Created a new target, and attached the new credentials
Execute Credentialed Scan against our Vulnerable Windows VM
In OpenVAS, Scans → Tasks
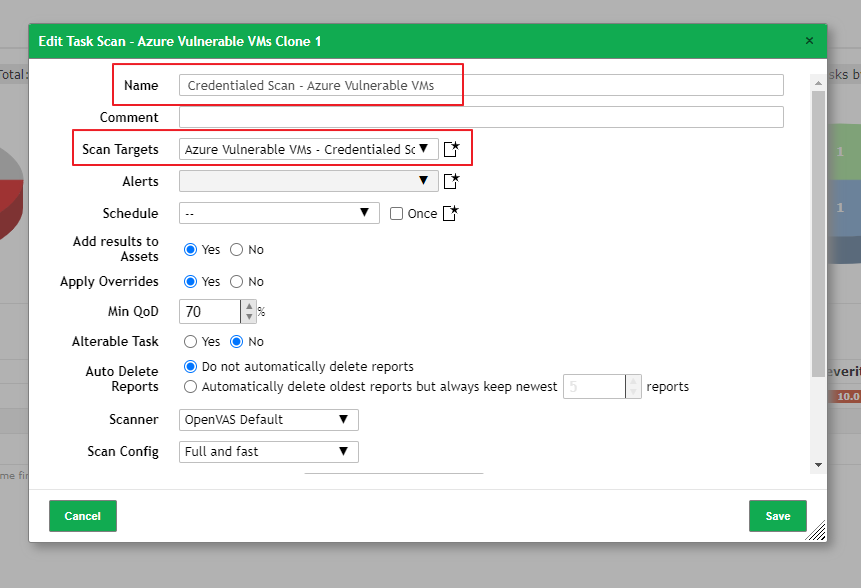
To create the credentialed scan, I cloned the “Scan - Azure Vulnerable VMs” Task, then changed to update the scan name and target.
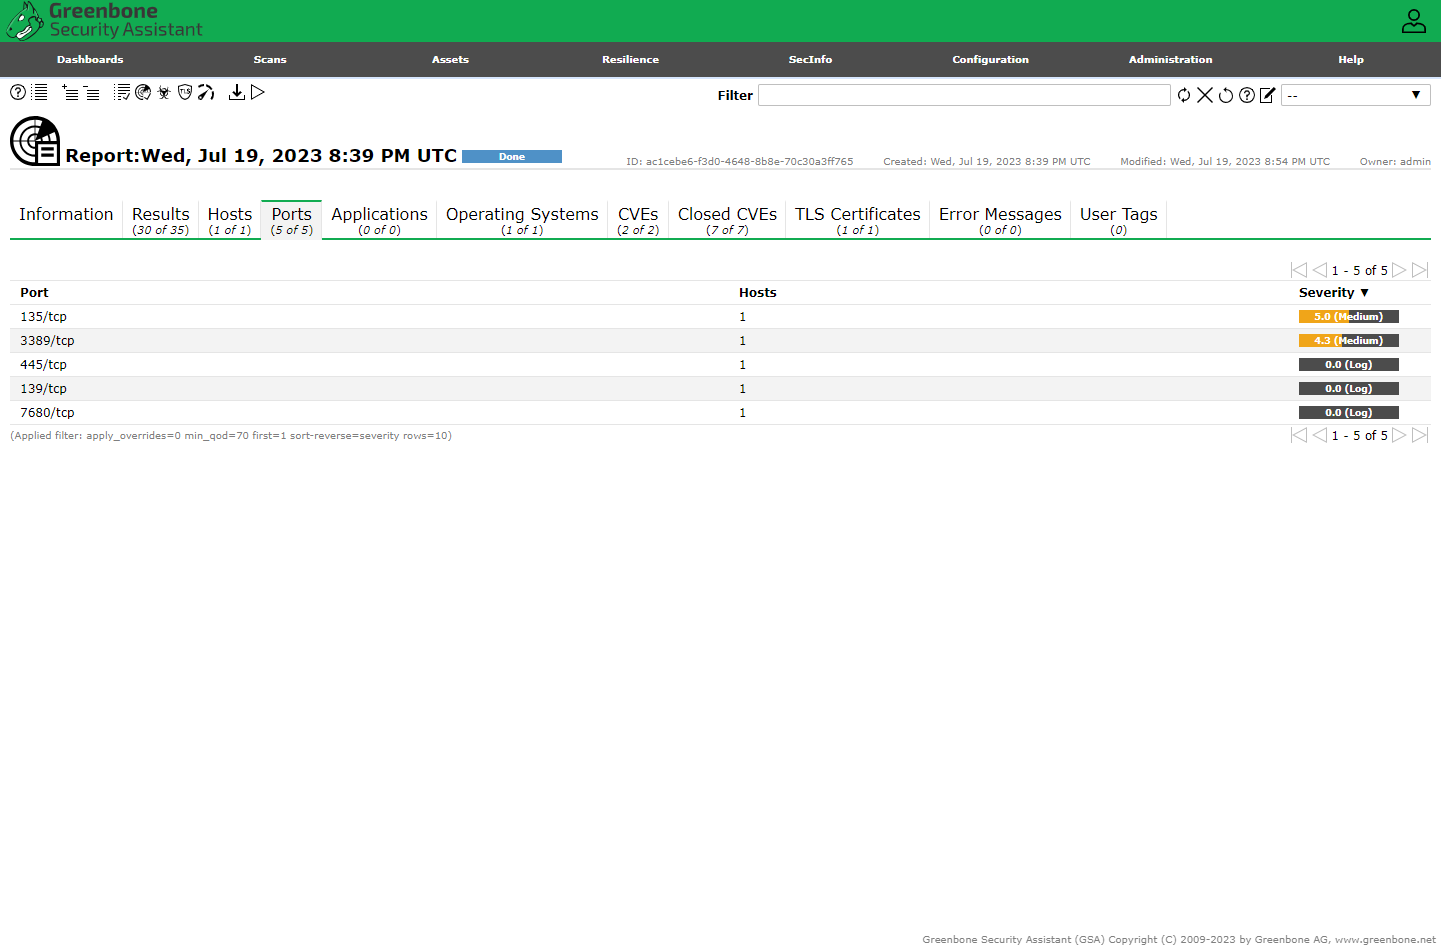
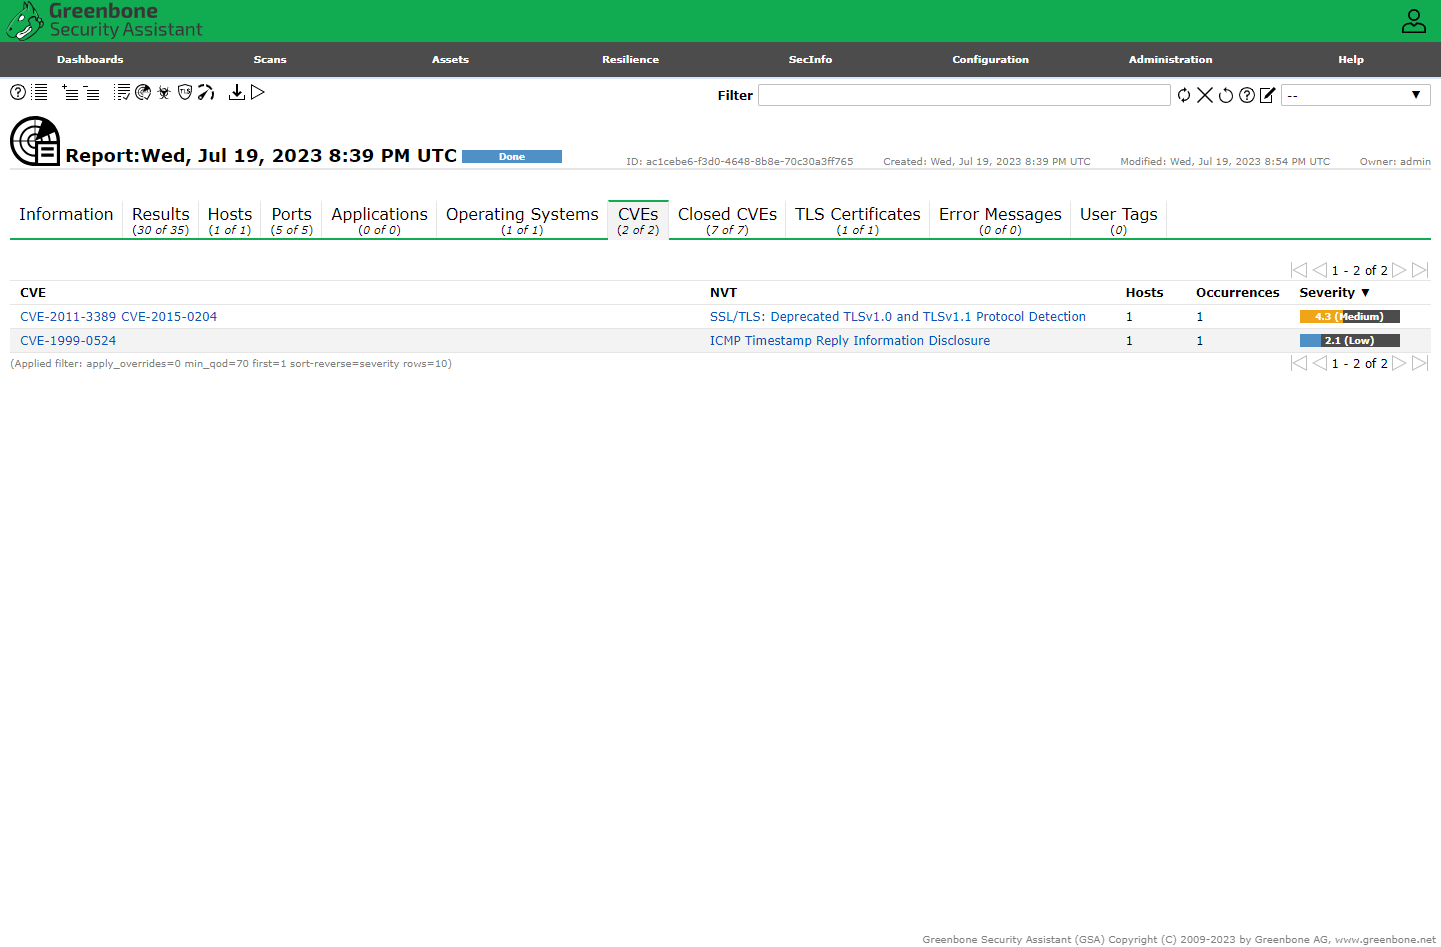
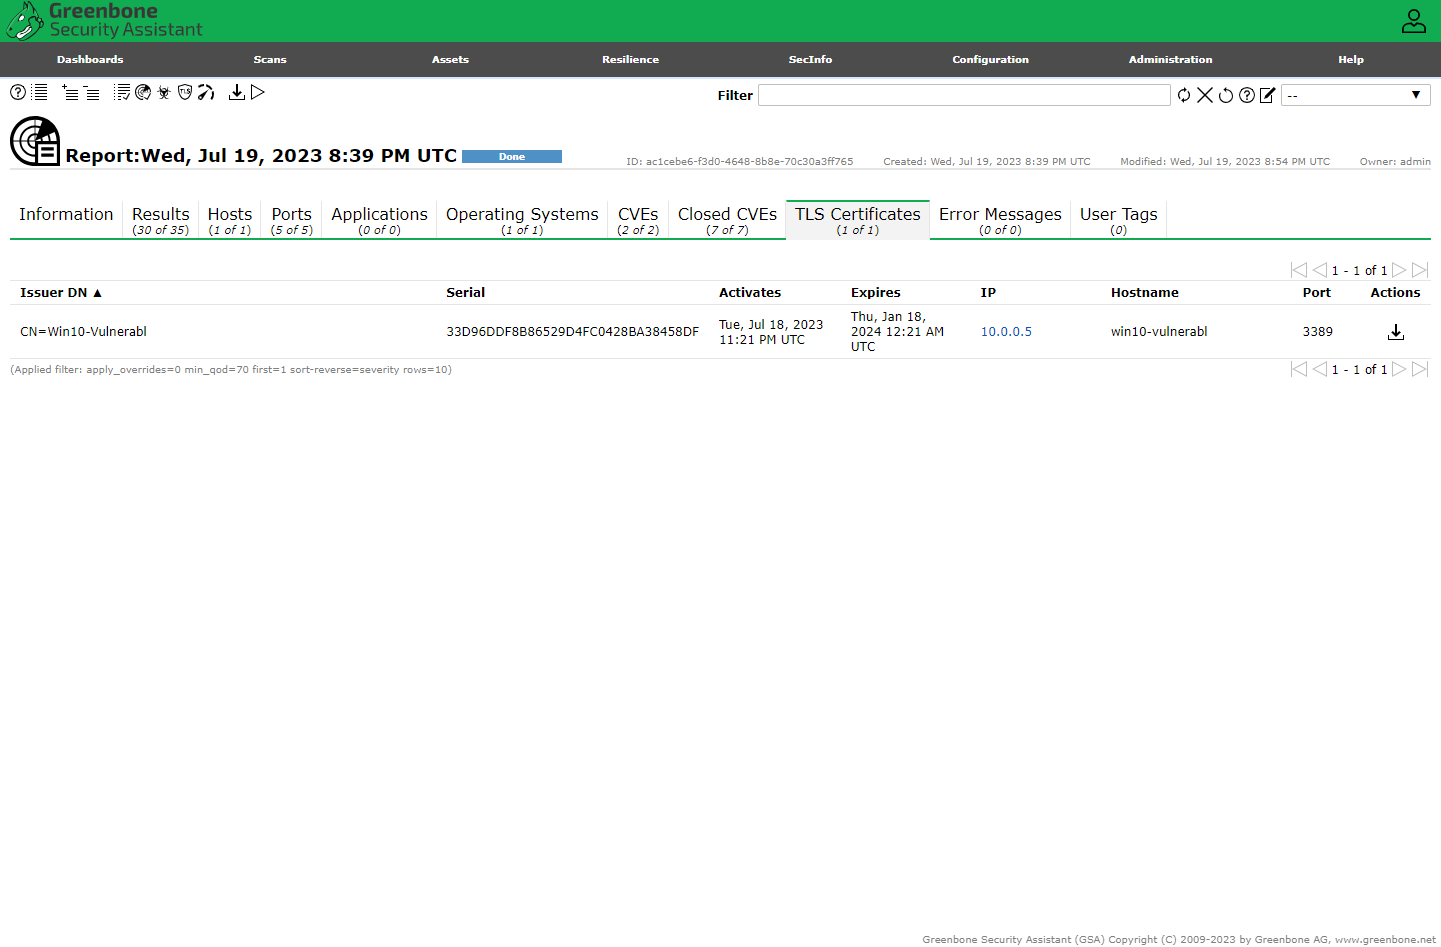
Initialized the credentialed scan and reviewed the results.
Credentialed Scan Results
Now we can see the insecure software installed earlier, flagged for remediation the scan results.

The SMB results show that OpenVAS was able to authenticate successfully.


Remediate Vulnerabilities
In the Win10-Vulnerable VMm, I uninstalled Adobe Reader, VLC Player, and Firefox. I initially intended to update but some of the versions were too old and it was simpler to uninstall rather than download new versions and reinstall everything since we don't actually need to use anything.
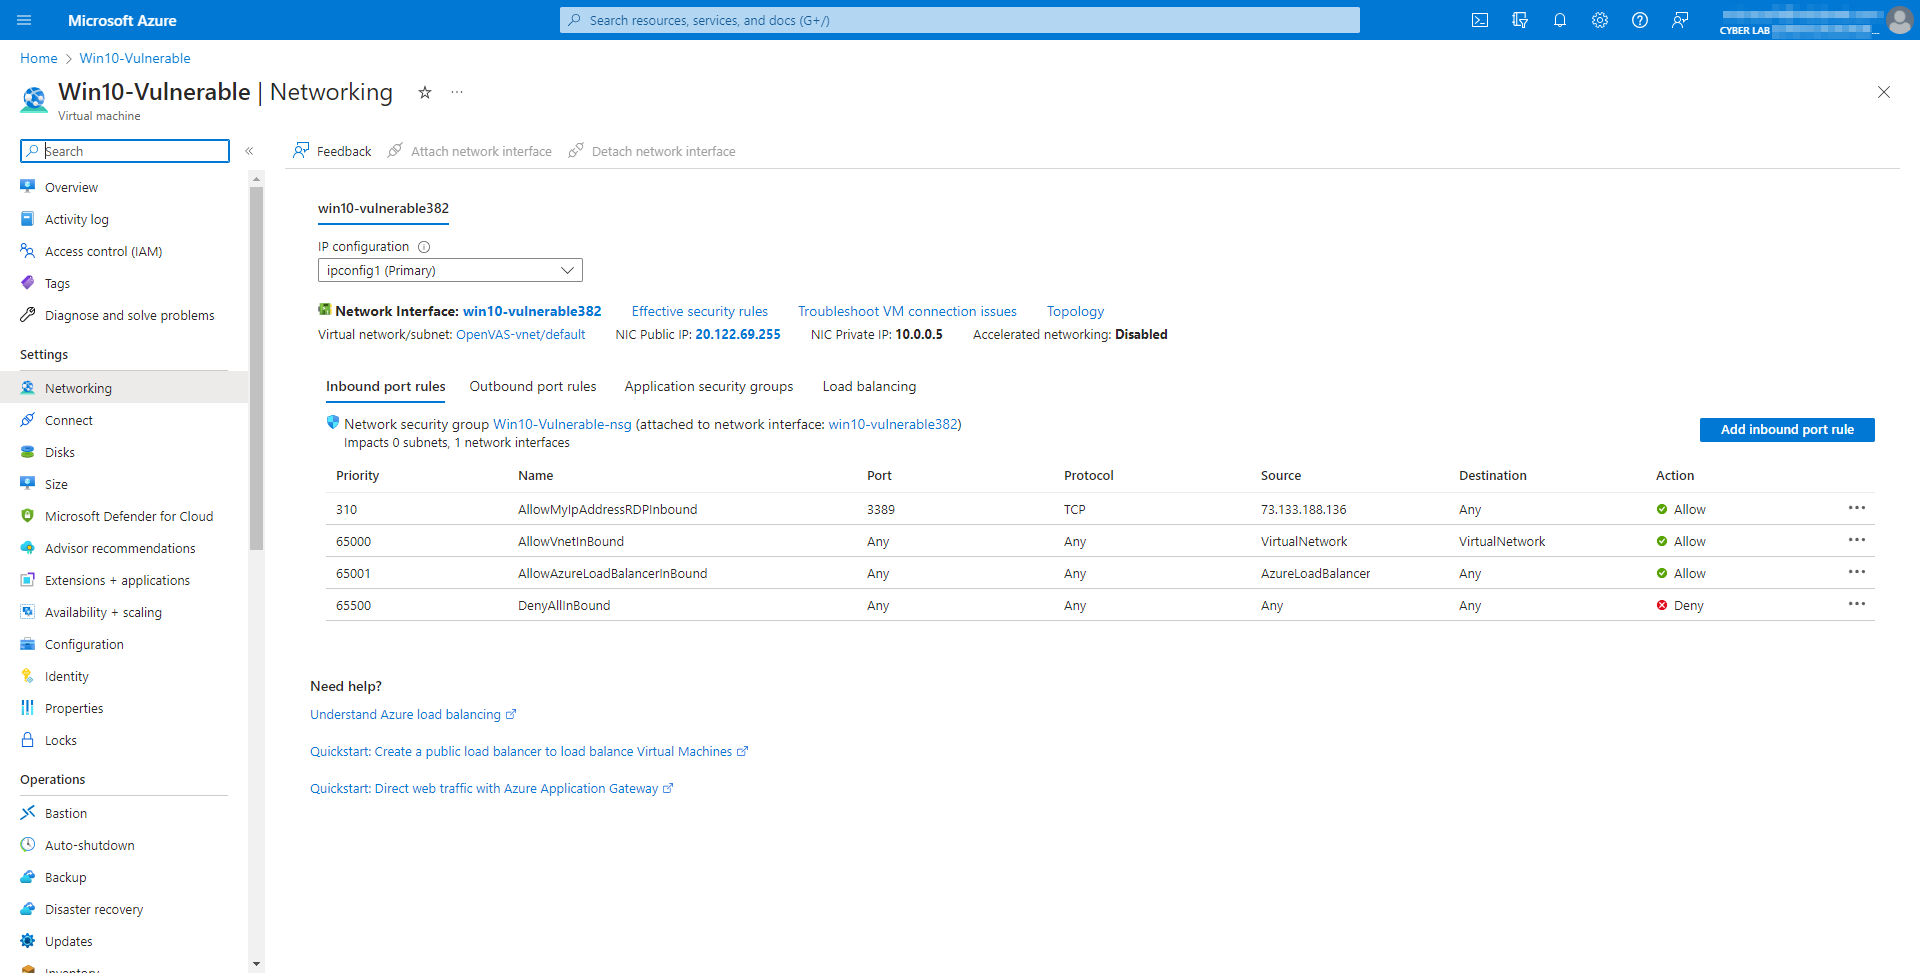
I also tried enabling the firewall, but it affected OpenVAS' ability to perform the scan. I was concerned that reverting the UAC would do the same. Instead, I changed the NSG from allowing any inbound RDP connections, to only allowing connections from my IP. In the Win10-Vulnerable VMm, I applied all available updates.


Verify Remediation
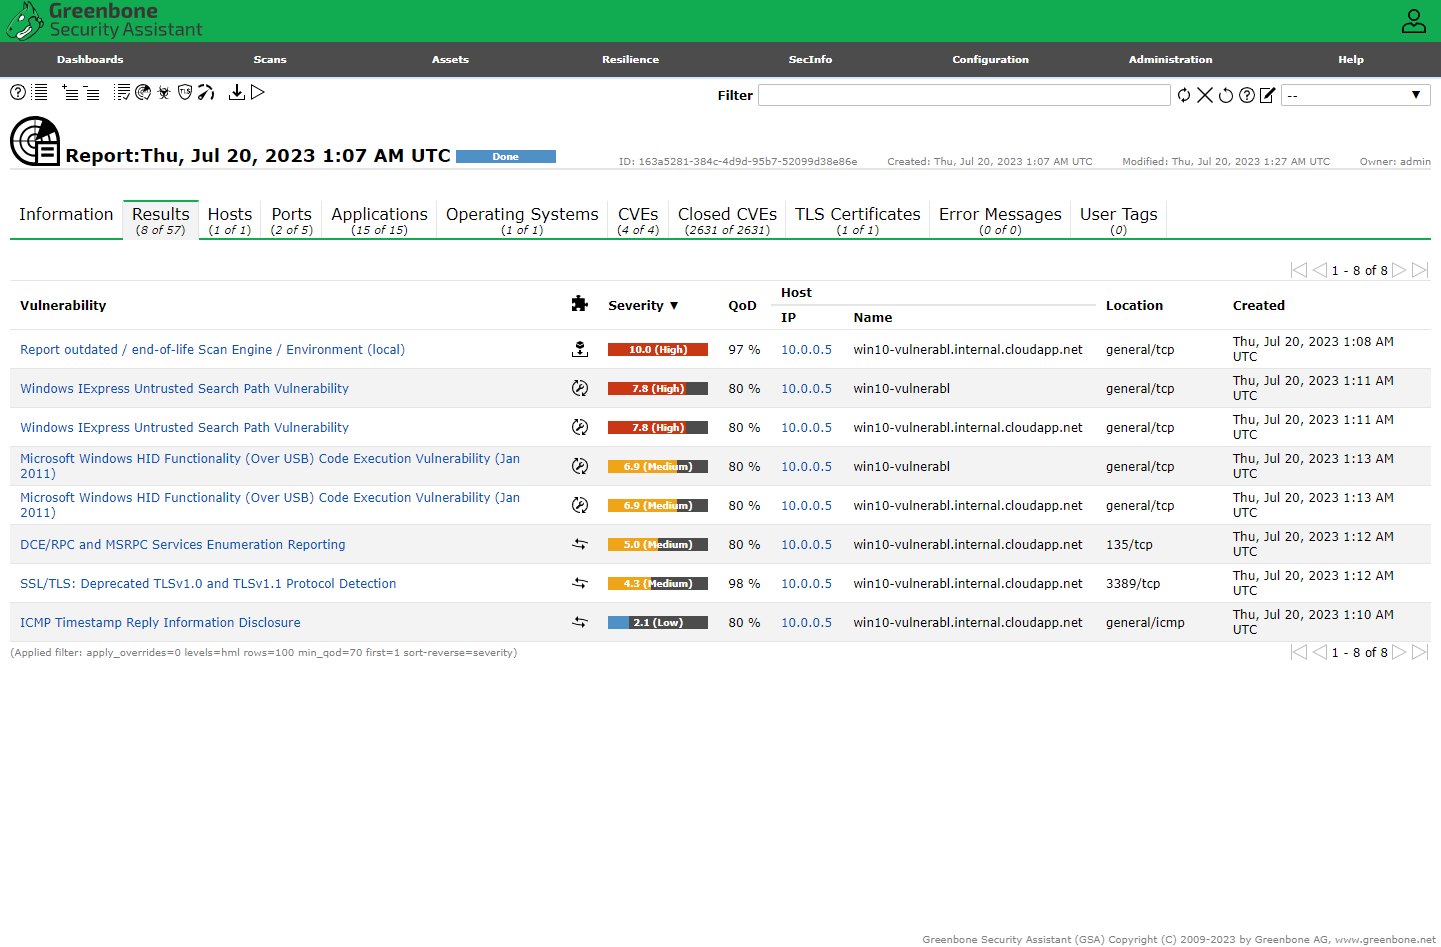
Re-initiated the “Credentialed Scan - Azure Vulnerable VMs ” task and observed the results.
Reflection
While the most critical vulnerabilities appear to have been mitigated, it's interesting how little effect applying system updates changed the scan. Although I restarted the VM a few times during and after the update process, I wonder if timing is a factor (should I have waited an hour or so before running the scan again?). I'm very interested in configuring a local version of this lab, but also including Nessus and possibly Qualys vulnerability scanners to compare the scan results.
Tip
Click to zoom on any images.